|
While getting ready to shop for white subway tiles in our kitchen, I knew that all subway tiles were not created equal. There is a difference between white subway tiles, that unless you get them side by side, you wouldn’t even notice. I first picked up subway tile from a big box home improvement store. I held it up against my backsplash and thought it looked pretty good. It was white, it was rectangle. Done. That, would have been a big mistake though, and I would not have been happy in the end.
But, I remembered when we had shopped for tile for our second bathroom, how there was such a difference in color between all of the difference “white” subway tiles.
The best thing about subway tile is it’s really affordable, has great versatility, and can be used in every style from Farmhouse,to Boho to Cottage. In the right tile pattern, it can even be used in more modern/transitional decor. Of course, subway tile is very popular, and I’ve used it before in my own home. We used it in a renovation of a property we owned at one time. And of course,in our second bathroom.
You can find examples all over Pinterest as well. This is one of my favorite renovations that Joanna Gaines used subway tile in in Fixer Upper.
And,I love the use of these longer subway tile in Vintage Revivals laundry room makeover. You really need to see the full makeover, and all of her clever and awesome touches!! It certainly shows though there can be a lot of difference between white subway tile. Just like in white paint, all tile colors are not all created equal. After buying samples in my area, I thought I would share the differences I found between the different tiles from the different stores. They all ranged from $2.99 a square foot to $5.99 without installation. We have about 30 square feet and that includes our 10% overage.
Even though by themselves they looked the same when you put them next to each other you could see the difference between the shades of white,
and even the thickness. I also held them up to the cabinets to look at the shades of white, and how they went with our current cabinet color.
This one was from Floor and decor.
Home Depot
Beveled edge Home Depot
The Tile Outlet. It’s amazing to me to see the difference between white subway tiles. It would have been a mistake to just grab what they had at one store and called it a day. In the end, we are going to go with the brightest one from the Tile Outlet. In the end, it’s all about the design, and what I will be happy with in years to come.
Save Save The post The difference between white subway tiles appeared first on Jennifer Rizzo. from http://jenniferrizzo.com/2017/04/the-difference-between-white-subway-tiles.html
0 Comments
Hello there! This week is flying by! It's supposed to be a beautiful day today -- I'm looking forward to getting outside and getting our flower beds cleaned out and some plants pruned.
I've been thinking a lot lately about some of the best changes I've to our house over the years, especially because we'll be in this house for 13 years as of the end of the month. A few years ago I shared a similar post so be sure to check that out too. I'm including a couple projects here that I included in that post just because they are SO GOOD. ;) But it's fun to look back at my thoughts then and now.
These are some of the BEST changes (large and small) that we have made to our house over the past decade or so. First up...expanding our front steps. We did this a couple years ago and are still kicking ourselves for not doing it earlier:

You can go here to see how small they were before. I look back and don't get why the builder makes them so small -- they were almost a hazard they were so narrow. I cannot even tell you how nice it is to have the wider steps going up to our front porch.
Now we're able to have the flowers/plants on there and still have plenty of room to get up and down. And Halloween is SO much easier now! No worries that the kids are going to fall off the steps!:

This time of year is the only time I will miss our azaleas! They were so beautiful for about two weeks! You can see how we changed up that landscaping last fall here.
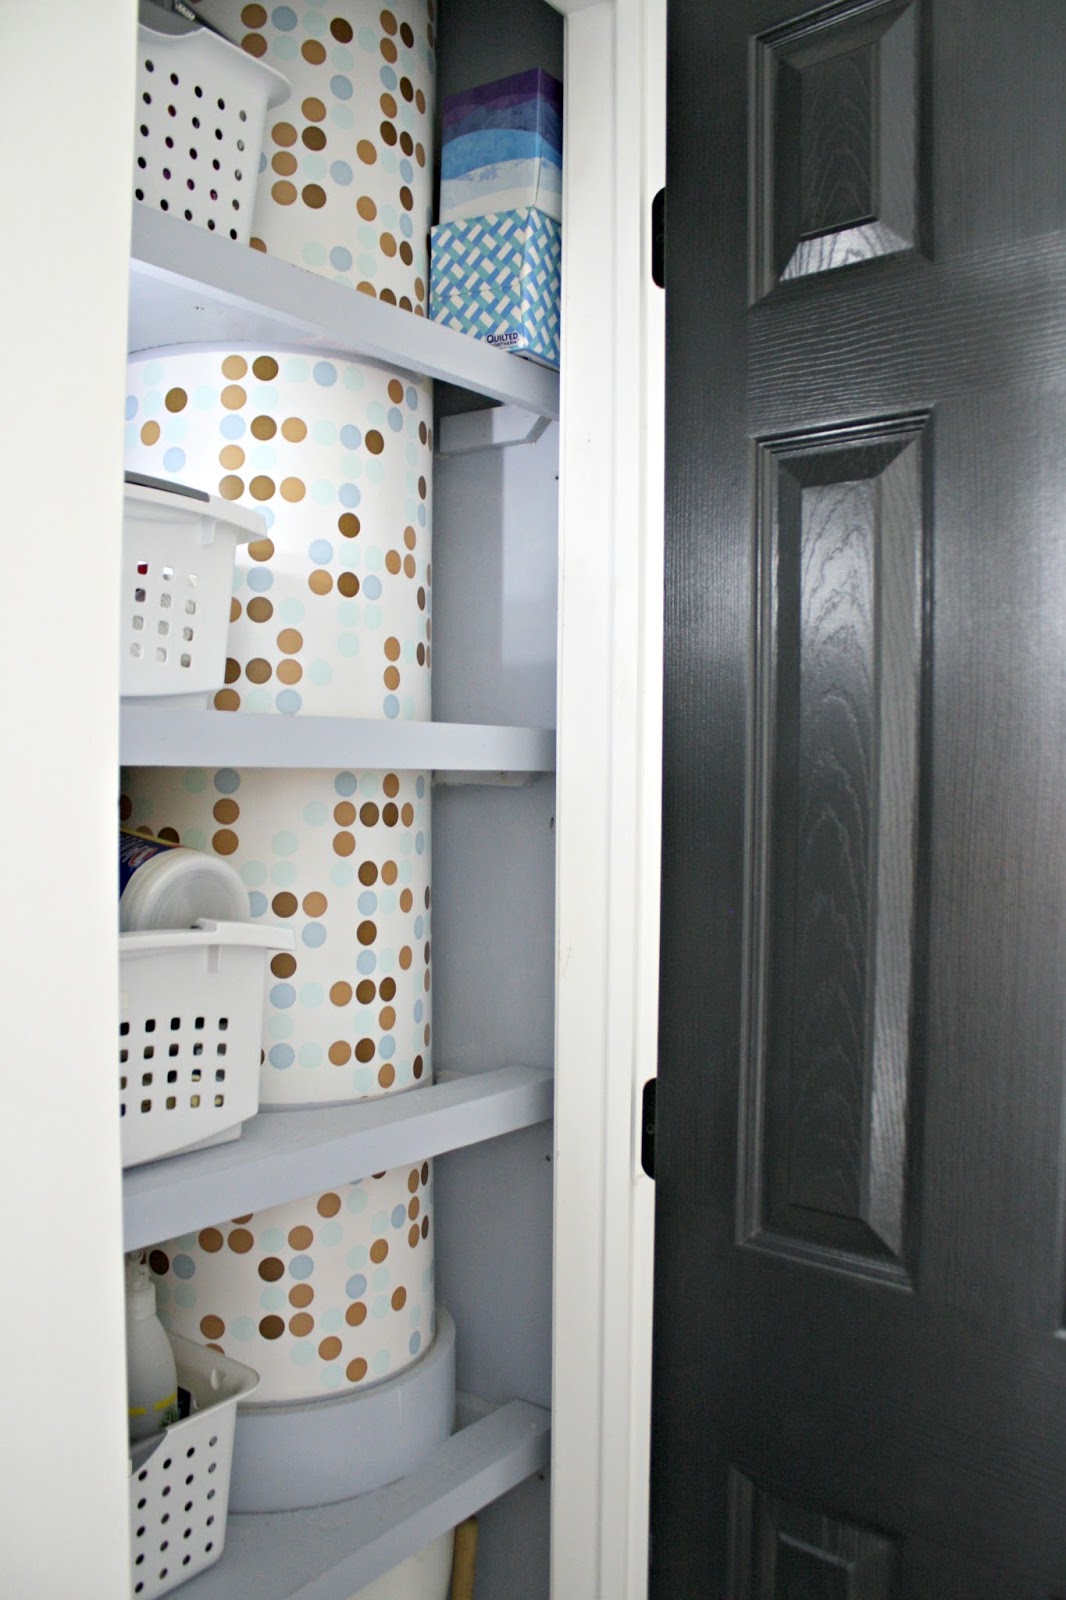
I think I've mentioned this next one once or 500 times, but it's worth saying it again because I think a lot of people shy away from doing this. We used to have a laundry/mud room right when you walked in from the garage and it just did not work, in any way, the way it was set up. When we finished our basement years ago I knew I wanted to move the laundry down there. EVERY day I'm so thankful we did that:

Every. day. :) I cannot express how wonderful it is to have a dedicated laundry space! Even though I'd love to have it near the bedrooms upstairs, this was the next best place for it. We have a finished basement though, so it's no big deal to sit down there (in comfort) and fold clothes.
When we moved the laundry downstairs we were able to make this a proper and pretty mud room and I love love love it:

All these years later it still feels like a luxury to walk into this bright, pretty space when we arrive home. I still remember how that cluttered laundry area made me feel. It wasn't a good feeling. ;)
We ended up adding a laundry chute down from our master bathroom to the basement, and at first I wasn't so sure it was worth it. I talked about that here. But then I purged our house, redid our closet and got our clothes under control and now I'm so thankful for the chute. It is AWESOME. ? I would do it again in a minute:
Another big project I talk about a lot (because it made such a huge change in our house) was taking a leap and knocking down a wall between our family room and office. Here's a before photo of that room:

Look at my little baby. Goodness. :) I chose to put that fireplace in the corner when we built specifically because I thought it would be cool. I was wrong. I hated it. ;)
I made small changes to it over the years that helped, but the day we knocked down this wall was one of my happiest:

It opened up SO many new possibilities for half of our main level. We were able to expand our kitchen quite a bit later on and we doubled the size of our family room:

Our office is now up in the loft and works so well for us, so we're not missing anything down here. If you are handy and the wall you are taking out is not a load bearing wall, this doesn't have to be an expensive project. Especially if you're going to do things like flooring after the fact. The bigger ticket items in our room were creating a new fireplace and patching (and restaining) the floors.
Years later I've been making small updates in here -- you can see some of them in my post from earlier this week:

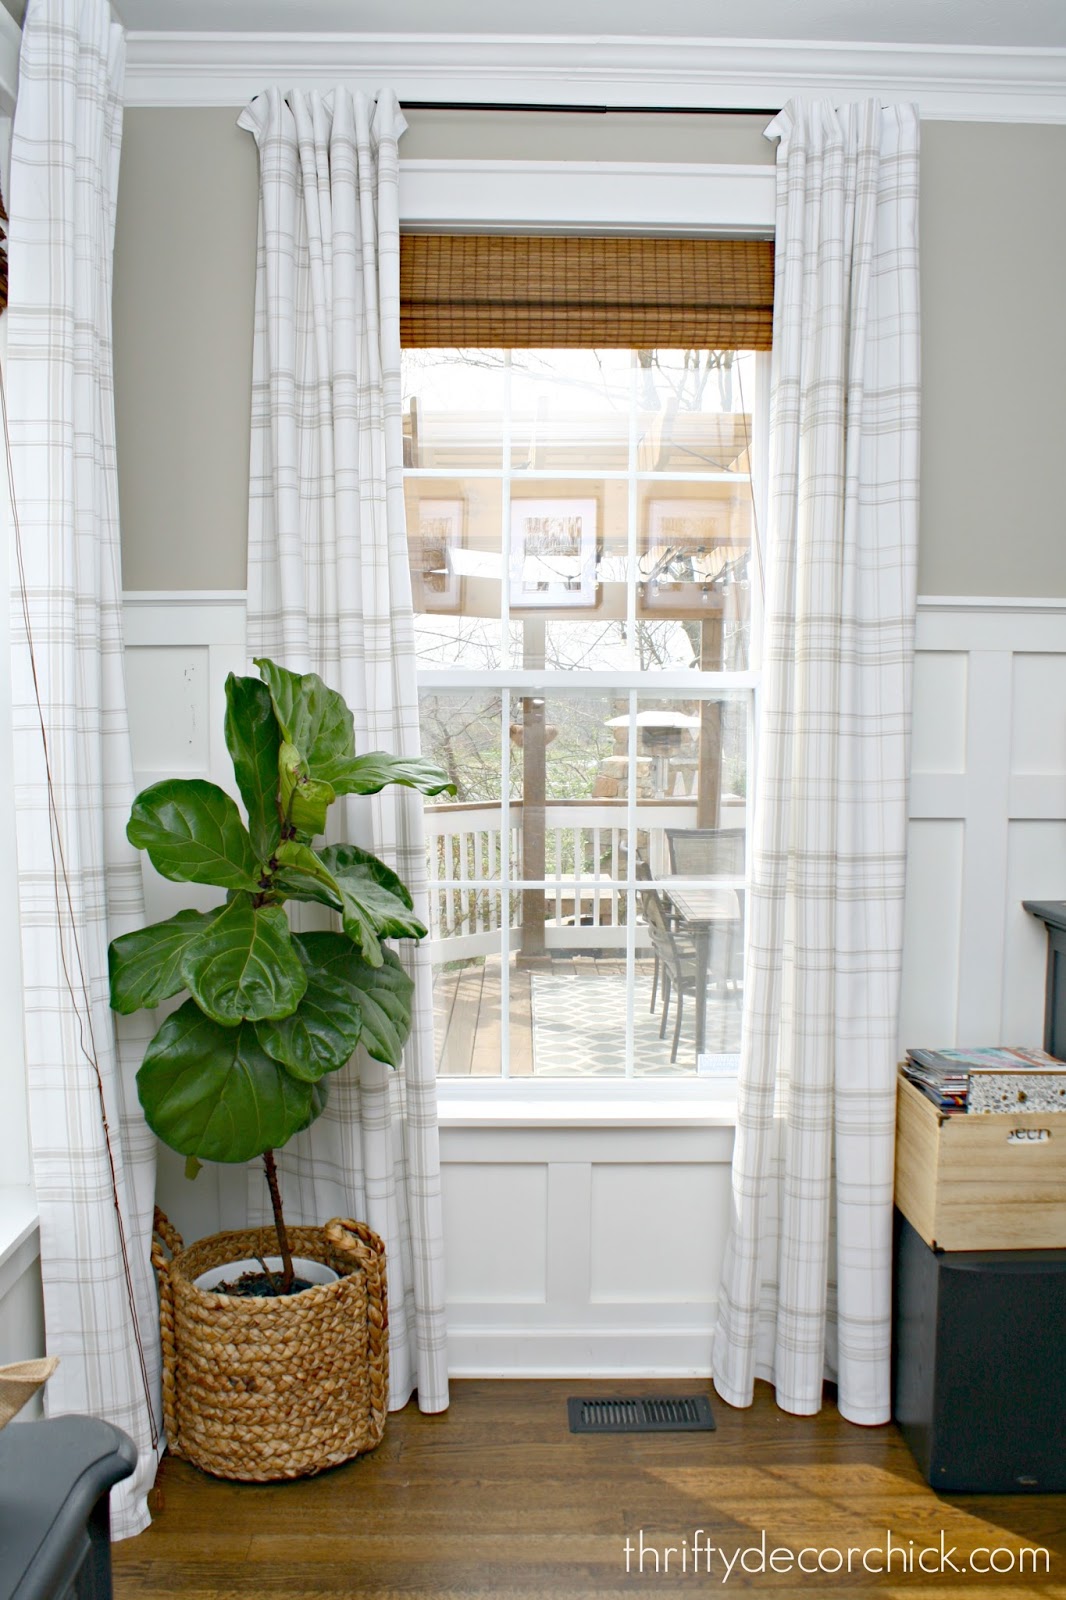
One project I walk by daily and am still grateful for four years later was a super simple one. I used a very simple method to make our master bathroom window private:

I loved the big window and all the natural light it allowed in the room, but I felt like I had to be covered every time I walked by -- day or night. I used a really inexpensive trick to make it private and it's still looking great! I love this small change -- it's such a small thing but I love not worrying about the neighborhood seeing me in the bathroom. ;)
Speaking of windows -- our next phase after the family room (that took about six months to complete because we paid as we went) was to start the kitchen. We started with moving our back door. Before our kitchen table and back door were in the same spot in our bay window and it was incredibly tight. We moved the door and I'm still so thankful:

Because I was able to build my dream window seat when that door was gone:

I would do that again a million times over -- not only because it's beautiful, but because that was such a tight spot before and now everything is spread out. And because we moved the family room down quite a bit, it made much more sense to move the door to between the family room and kitchen. It just functions so well.
I love all of the DIY projects I took on in the kitchen renovation a couple years ago, but one of my favorites was the simplest. I took down some cabinets and also removed the microwave from above the stove:

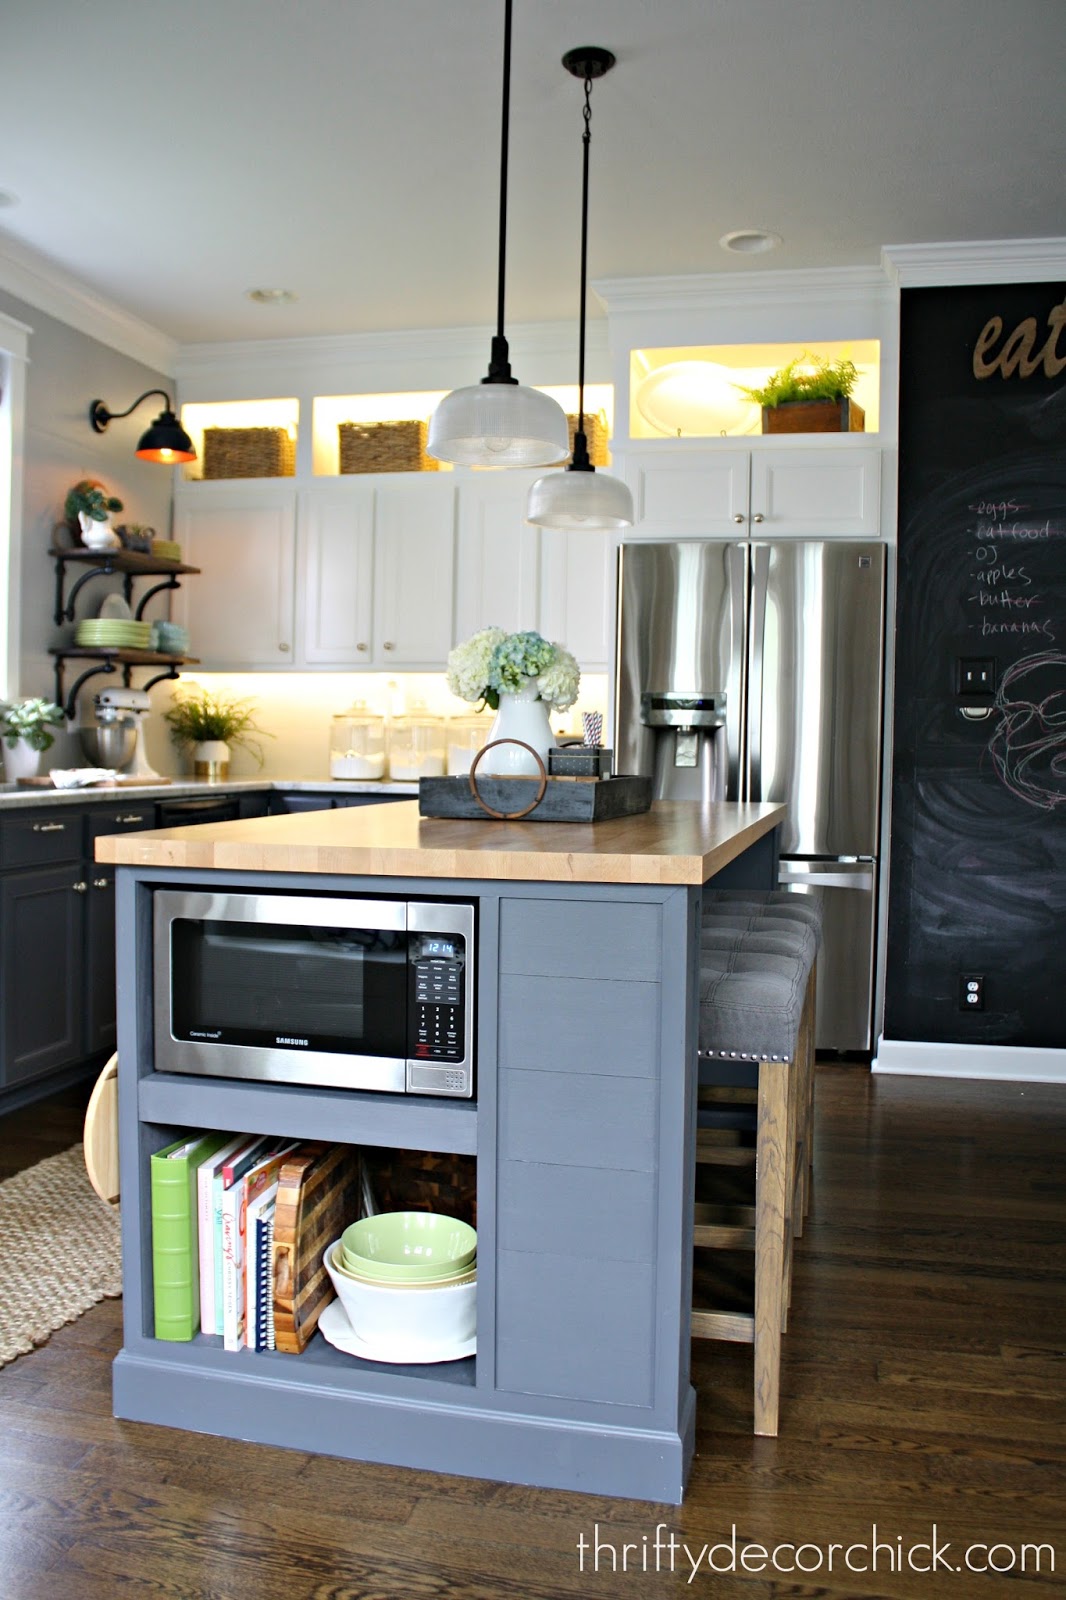
Functionally, adding to the length of the island and moving the microwave are the two best decisions I made during this reno. I like that the microwave is no longer the focal point of the room (now the pretty vent hood is):

And I love having the microwave lower. It's also a nice bonus that our son can easily use it now too. Because we sold our old microwave, we broke even on this project (minus the vent hood). I shared more about our thoughts on moving the microwave in this post if you're thinking of doing the same.
There you go -- some of the BEST projects we've taken on in our house over the past 13 years. Some are more expensive than others, but we do all of our bigger projects over time to spread out the cost (because we pay cash). When I walk by or use any of these on a daily basis I still think about how grateful I am that we were able to make these changes. They make our house function so much better and it doesn't hurt that most are prettier too.
I hope some of these inspire you in your home! I can't wait to see what I'll be writing about in a few more years. ;) Do you have a favorite project in your home that changed how you live in it for the better? I'd love to hear!
from http://www.thriftydecorchick.com/2017/04/the-smartest-changes-big-and-small-weve.html I wanted to share a little birthday weekend recap with you, a Rosemary raspberry gin fizz recipe, and thank everyone for the birthday wishes. When you are having a birthday you are not to sure about (45 this year), it helps to have lots of people say really nice things and a few drinks!!!
45 is a weird year for me,because to be honest, I never thought I would get here. Not that I was going to die or something, I just couldn’t imagine it. When my mom turned 45, she had a 24 year old daughter. I have young teens. And I don’t feel what I thought 45 was going to be like in my head. To be honest, when I was young, a 45 year old… looked old. We have an old picture of an aunt who was about 46-50 and I swear I thought she was 70. I mean, gray hair with a bun, black, comfy shoes, a baggy, frumpy dress, and a freaking APRON. I couldn’t believe she was only 50! I think people used to act and dress much older. It reminds me of this funny magazine ad I found from the 1970’s where 38 was the end of the line. Now, we are living so much longer and in better shape, most of my 45-50 year old friends go to the gym,dress in leggings, and look 10 years younger. We all look so young in comparison! I mean, my body hurts, don’t get me wrong. And, there’s nothing like going through “changes” when your daughters are also going through “changes”. It can be a little turbulent sometimes, but I’m not ready to throw on a bun and apron just yet.
I dream I am about 27 in my head, but after all the garage cleaning, and yard clean up I did this weekend, my body is telling me, Ha ha! Get the Advil, dreamer. Outside of the physical stuff I did this weekend, I made sure to get some fun stuff in the schedule just for me, like a fashion show at Anthropologie on Saturday with a friend. It was free (OK, except for the stuff I bought, but that doesn’t count, it was birthday money! Ha ha!)! Sweet Hubby picked up a bakery birthday cake for me, and arranged to pick me up after the fashion show so I could have a few drinks, and we could go to dinner right away. I snapped a few quick pictures of the store with my cell to share. I was so busy watching the show, I totally forgot to take pictures during it! I managed a picture at the end of the final walk.
This was the fashion show backdrop.
They had some lovely snacks from Whole foods and water, sangria, and gelato bites!
On Sunday, we cleaned up the yard after a winter of yuck, hubby smoked a pork shoulder, and at the end of the day, I treated myself to a Rosemary Raspberry gin fizz, and a Country Living UK on our back deck in the 70 degree weather!
The recipe is below. It’s so easy and so yummy! And of course, always drink responsibly! I love Rosemary, it’s one of my favorite herbs after lavender.
First, make your Rosemary simple syrup for your Rosemary raspberry gin fizz. It can even got in the fridge for a few days, so it waiting for you (wink). For one batch, I cheat by boiling 1/2 cup of water, and add to 1/2 cup of sugar, stirring until dissolved. Add 2-3 springs of fresh, crushed Rosemary and let steep. The longer you leave the Rosemary in, the stronger the flavor. I love it strong, but sometimes it’s too much for other people. If you don’t like Rosemary, feel free to use regular simple syrup. In a short cocktail glass full of ice add: 1 oz Gin, 1 oz raspberry liqueur, 2 TBSP Rosemary Simple syrup, and top off with San Pellegrino or another sparkling water. Stir and enjoy! I use San Pellegrino, because I don’t really like tonic water. You can also bump up the raspberry factor by using raspberry-flavored sparkling water. Or, make it sweeter, or less, by adjusting the simple syrup. So,I have to end this Birthday weekend recap by saying it was a pretty good weekend with the show,my family, and the Rosemary raspberry gin fizz! I had a great birthday dinner with my family, and got a lot done. So here’s hoping the rest of 45 goes just as smoothly!!
The post Birthday weekend recap,a Rosemary raspberry gin fizz,and Anthropologie fashion show appeared first on Jennifer Rizzo. from http://jenniferrizzo.com/2017/04/rosemary-raspberry-gin-fizz.html
When it comes to coffee there are dozens of different machines and methods you can use to create the perfect cup. While personal preference does play a large role in the best coffee maker for you, there are a few popular designs that come out on top of the coffee world. Here are the top 4 best coffee maker designs to help you choose which will make the best cup of coffee for you.
|


 Ha ha. They are such little designers already.


|
| DIY Color Block Cutting Board |

|
| Vintage Scrabble Letter Message Board |

|
| Chalkboard Dipped Cutting Board |
Save
Save
The post Round chalkboard DIY appeared first on Jennifer Rizzo.
from
http://jenniferrizzo.com/2017/04/round-chalkboard-diy.html
About Us
Hi Im Veronica. Im a mum of two. Living in the UK. I absolutely love dressing my kids up in stylish little outfits and showing them off around town. When I'm not running around town with my kids, I'm shopping or designing my flat or someone else's. Part time interior designer and self appointed home decor expert.
Official Site
 RSS Feed
